Inspired by: Ansel Adams
So much of photography is about learning from those who’ve gone before. Yes, you can search through sites like Flickr and Pinterest for ideas, but we feel that there’s more to be learnt by studying the great master photographers.
In this regular series we’re going to choose some of the greatest picture makers from history and show you how you can use their body of work for inspiration. This week it’s master landscape photographer, Ansel Adams.
The Zone System
Ansel Adams had one real goal when he took a photograph – to most accurately recreate the vision he saw in front of him. He approached photography with a scientist's mind and an artist’s heart, but found the limitations of the equipment available in the 1920s somewhat frustrating. This led him, along with Fred Archer, to create the Zone System – a means to overcome the limited dynamic range of his camera and film so he could produce images akin to those seen by the human eye.
The Zone System assigned a number to areas of light and dark in the black and white image, where ‘0’ was pure black and ‘X’ was pure white. This simplified his darkroom procedure and allowed him the over or under expose certain areas of the print to give him the results he wanted.
Applying his method to digital
Ansel Adams was meticulous and used the largest format cameras he could find so that his images had the greatest level of clarity and detail, but you can be sure he’d be using digital if he was around today! The ease with which we can manipulate a file in Photoshop or Lightroom makes modern photography perfect for Ansel’s system.
To experiment with the spirit of the Zone System you could try this:
Set-up your camera on a tripod and find a wide landscape image you wish to shoot
Shoot at your base ISO in manual mode, using whatever aperture gives you the depth of field required to render everything sharp
Take three shots in quick succession, altering the shutter speed with each one to expose for the darkest and lightest value – use bracketing mode if this is available on your camera
Now we’re going to take those images into Photoshop and combine them:
Open all the images in Photoshop and name them ‘0’, ‘-1’ and ‘+1’
Determine the areas of each image that you wish to add to the final exposure
Select image ‘-1’, drag onto image ‘0’ and add a layer mask
Using a black brush at 100% opacity brush away the areas you don’t want in the final image
When you get close to the areas you wish to keep lower the opacity to around 30%, soften the brush and blend in the edges. If you make a mistake simply click the brush back to white by pressing ‘X’ on the keyboard and brush back in those areas. This non-destructive method of using layer masks is a great way to experiment.
When you’re happy press “CTRL + Shift + E” to merge down
Repeat the process with image ‘+1’
You may wish to make some contrast adjustments, but what you should now have is an image that more closely resembles the dynamic range of the human eye.
You could, of course, do this with an HDR tone-mapped image, but you don’t have the same level of control that Ansel required, and the final image may look very different.
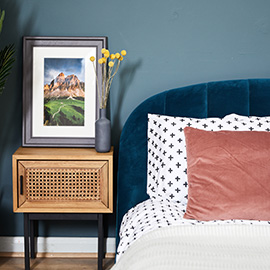
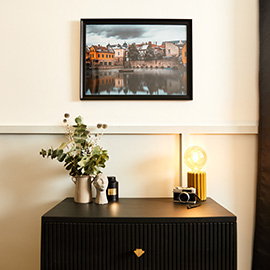
We hope you enjoyed this tutorial and use it to produce some stunning landscape images for your collection – and of course please remember that our high quality canvas prints can be the perfect way of displaying your beautiful landscapes on your wall, so everyone can enjoy them!